Products We Like
Here are some of the products that we've found useful. These are the result of lots of experimentation and trying out different things. Note that there's some overlap in coverage with the topics covered in "Modifications" on our Roadtrek page.
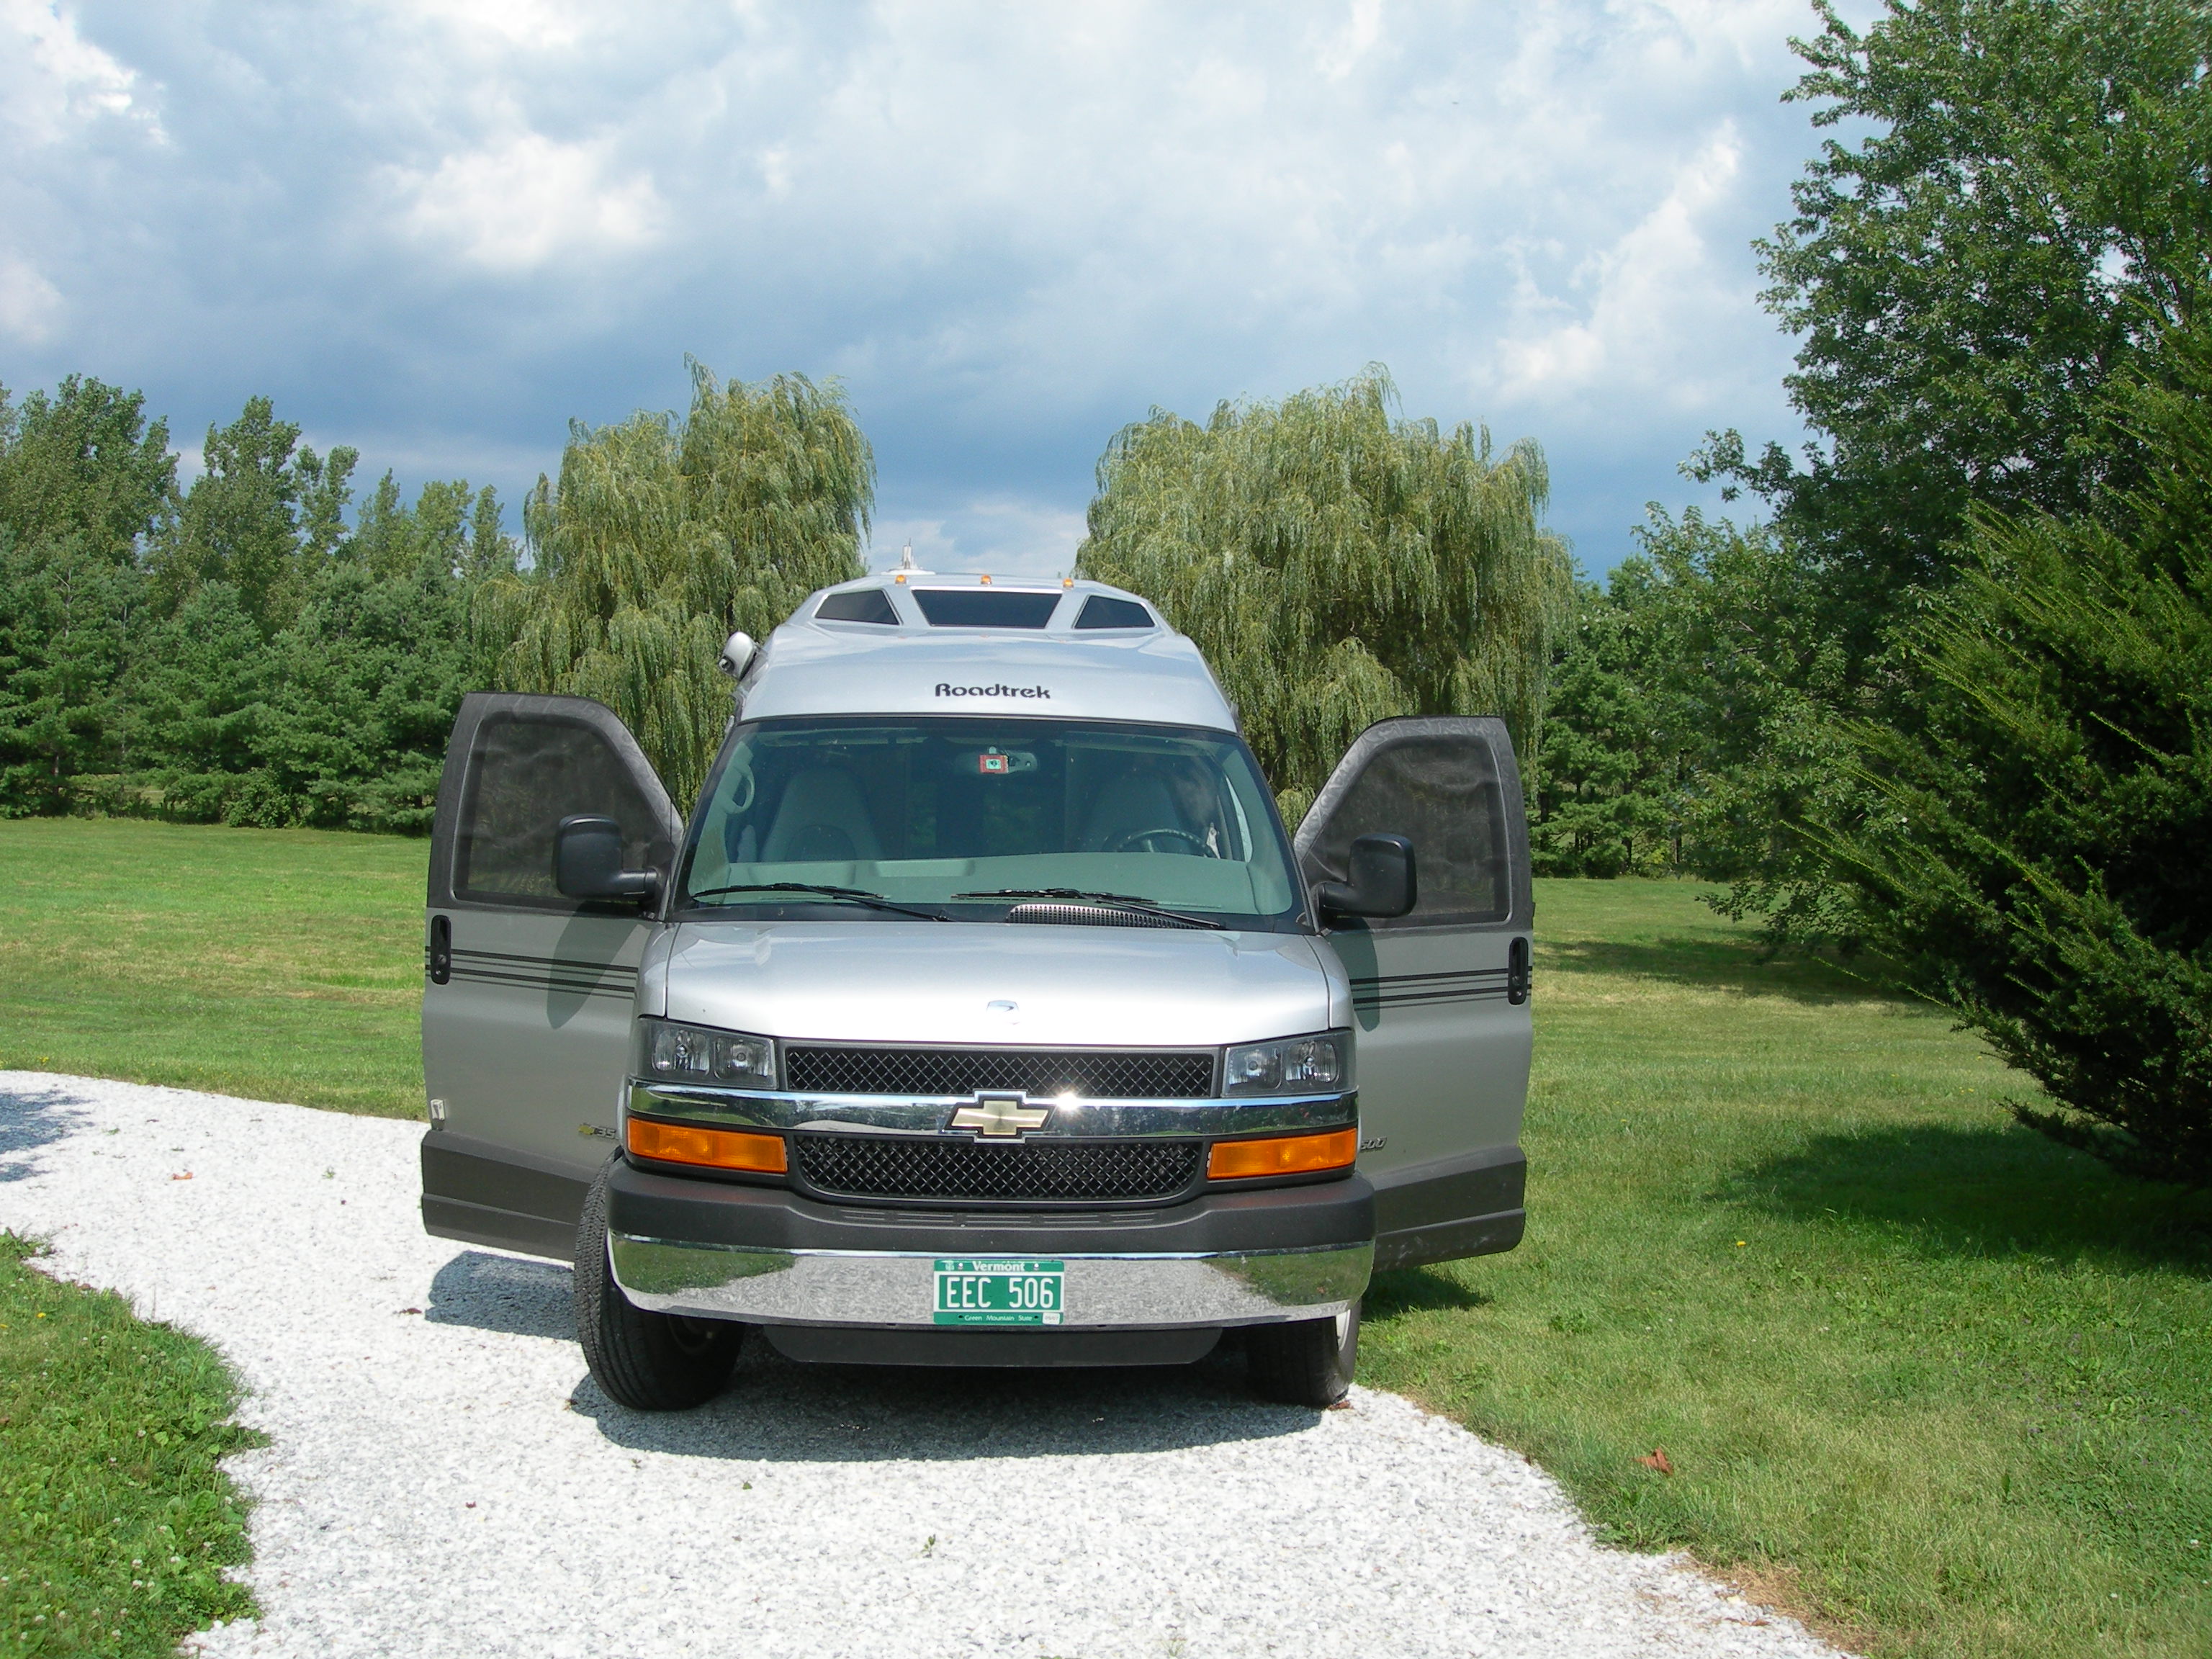
When we purchased our Roadtrek we bought the standard screen package for the rear doors and the side door. We added after-market screens to the front doors. These are custom made and cost about $72 for the pair including shipping. No need to measure: just send Chuck the make and year of your van. Contact: Chuck Blethen. Web site is http://www.skreenz.com/.
When our original rear screen developed some holes and tears we got a replacement from Chuck. Initially the cost was a bit daunting: about $340 but it was cheaper than any other vendor AND the quality is excellent! Chuck always provides excellent products and fantastic customer service. It is very tough and has worked out much better than the OEM screen.
.JPG)
Another screen option that we found complements the Fiamma awning. When we're camping in a warm climate and staying for a few days we'll put out the awning. One great awning accessory that we found is a screen that slides into the Fiamma awning and extends to the ground. It's held in place with tent stakes at the bottom. The screen has small holes and is porous: air gets through but sunlight is (mostly) blocked. It creates a nice outdoor living space.
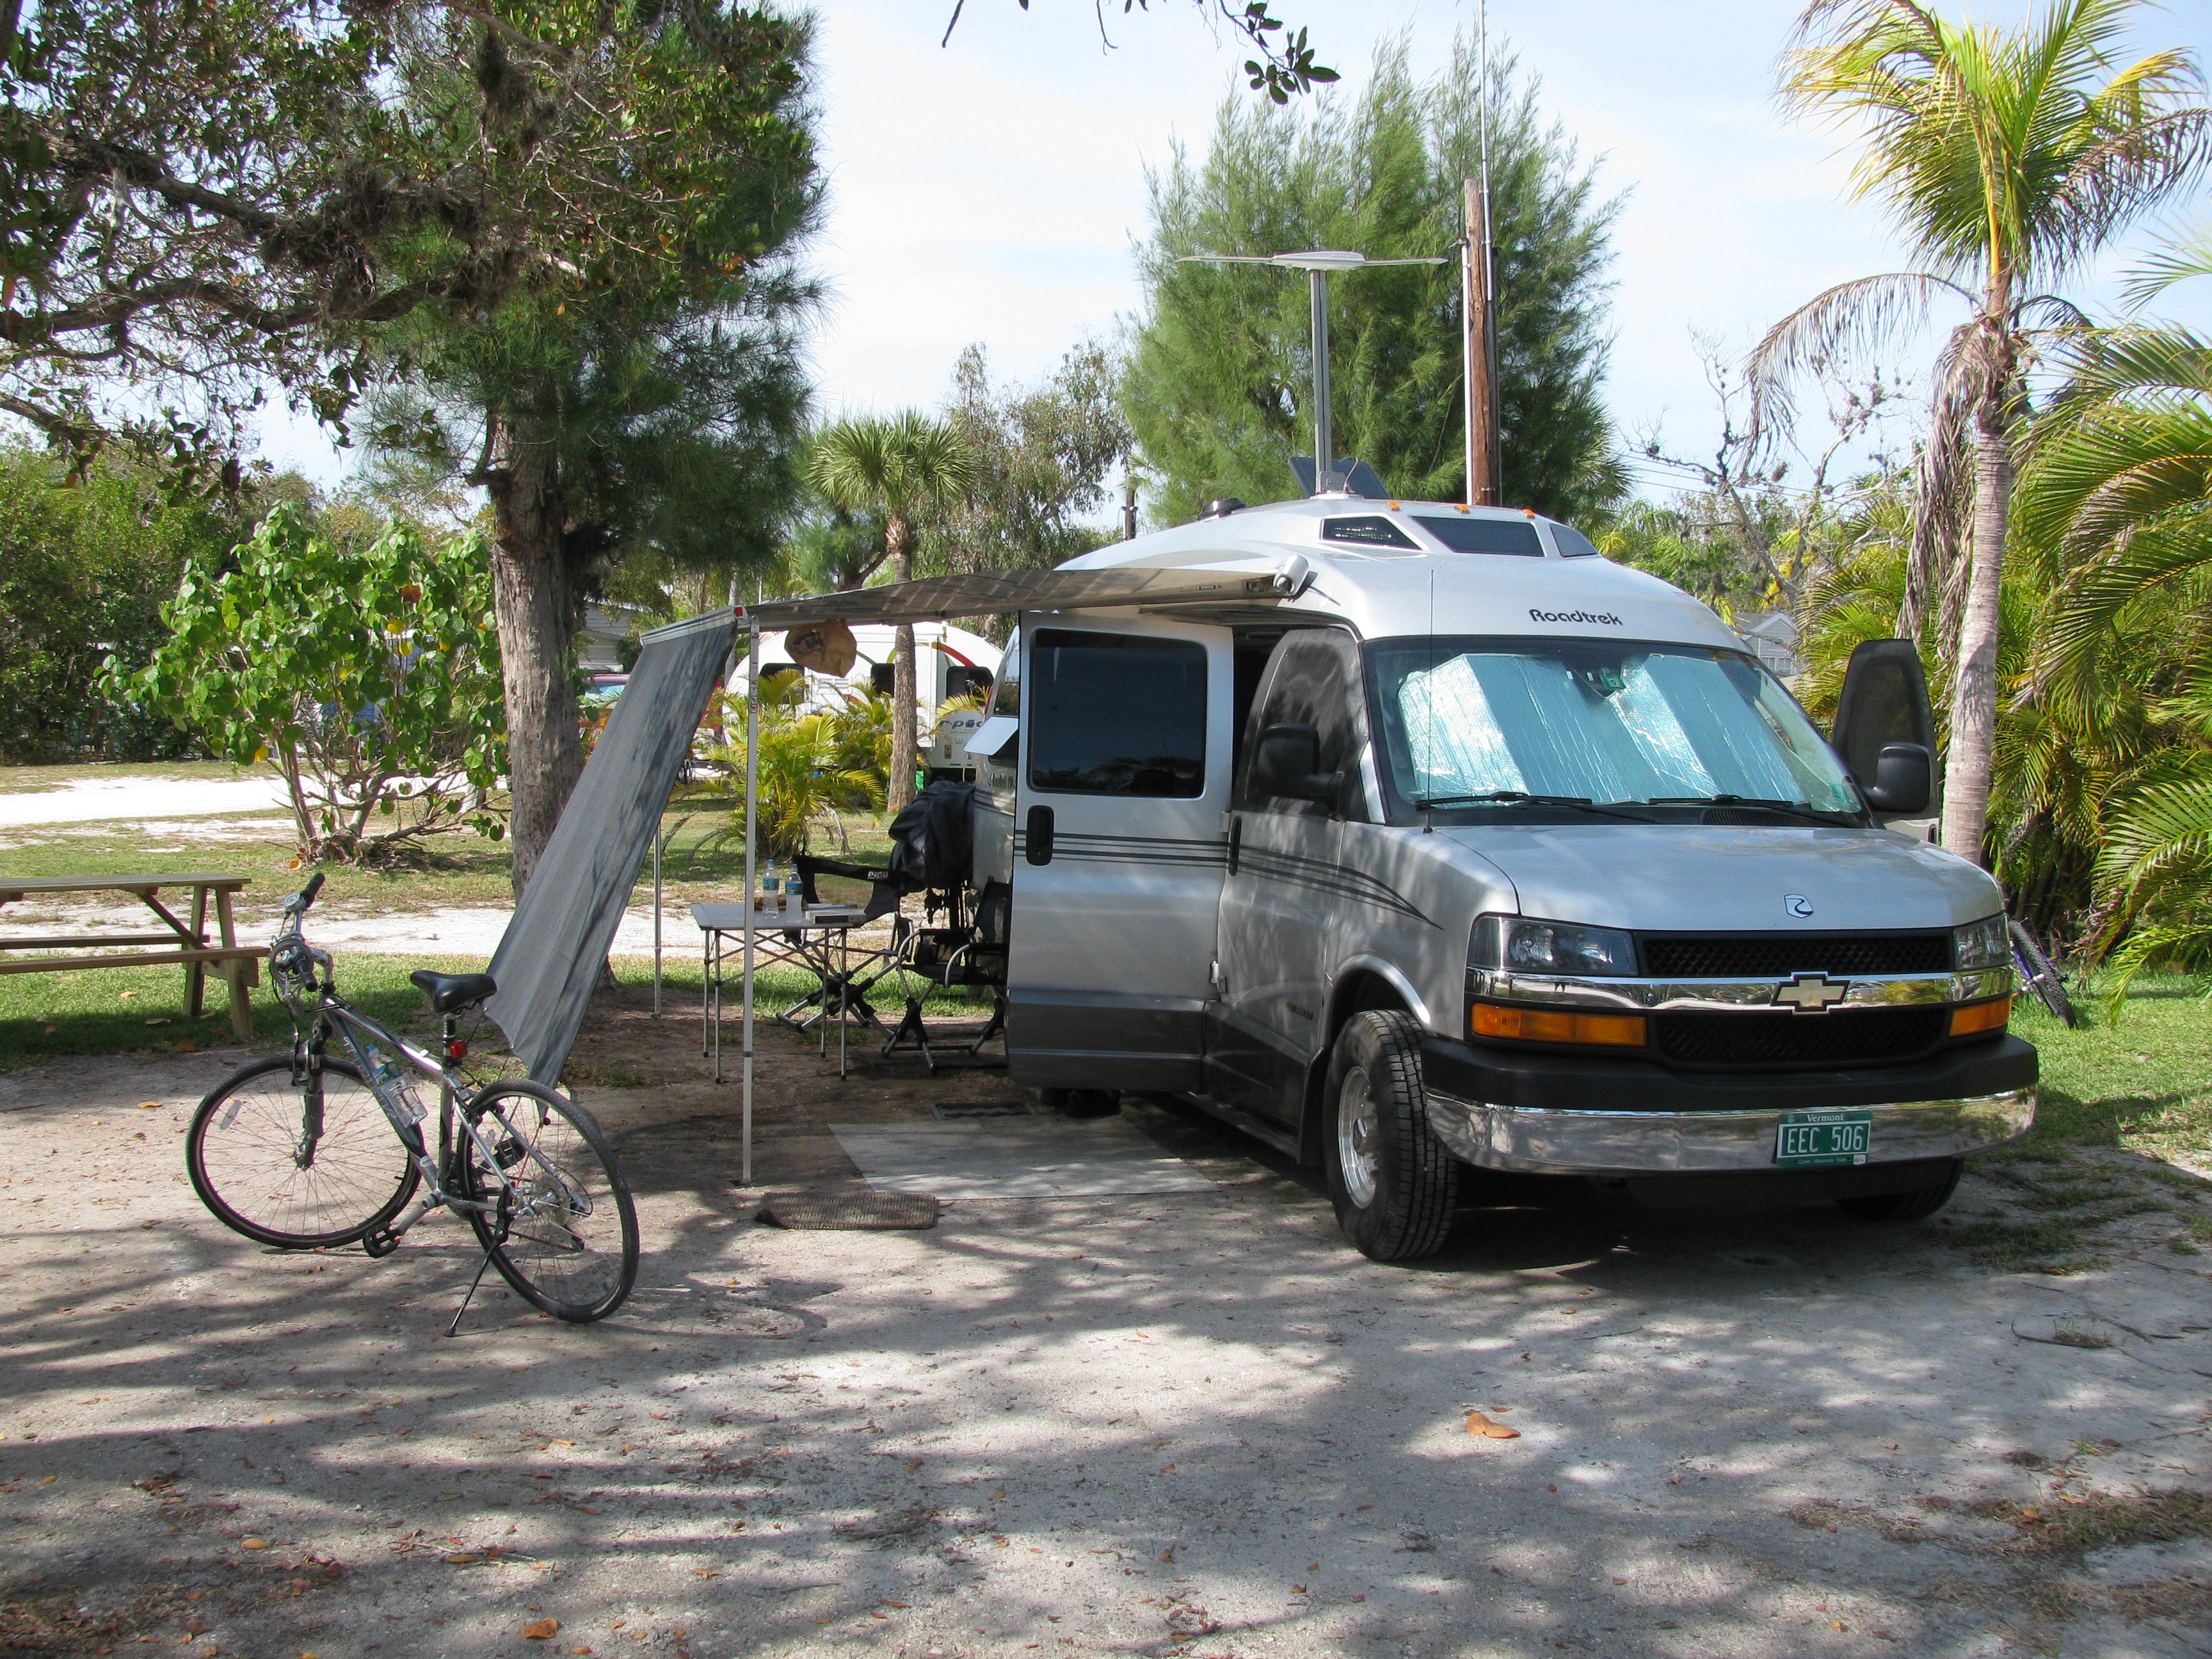
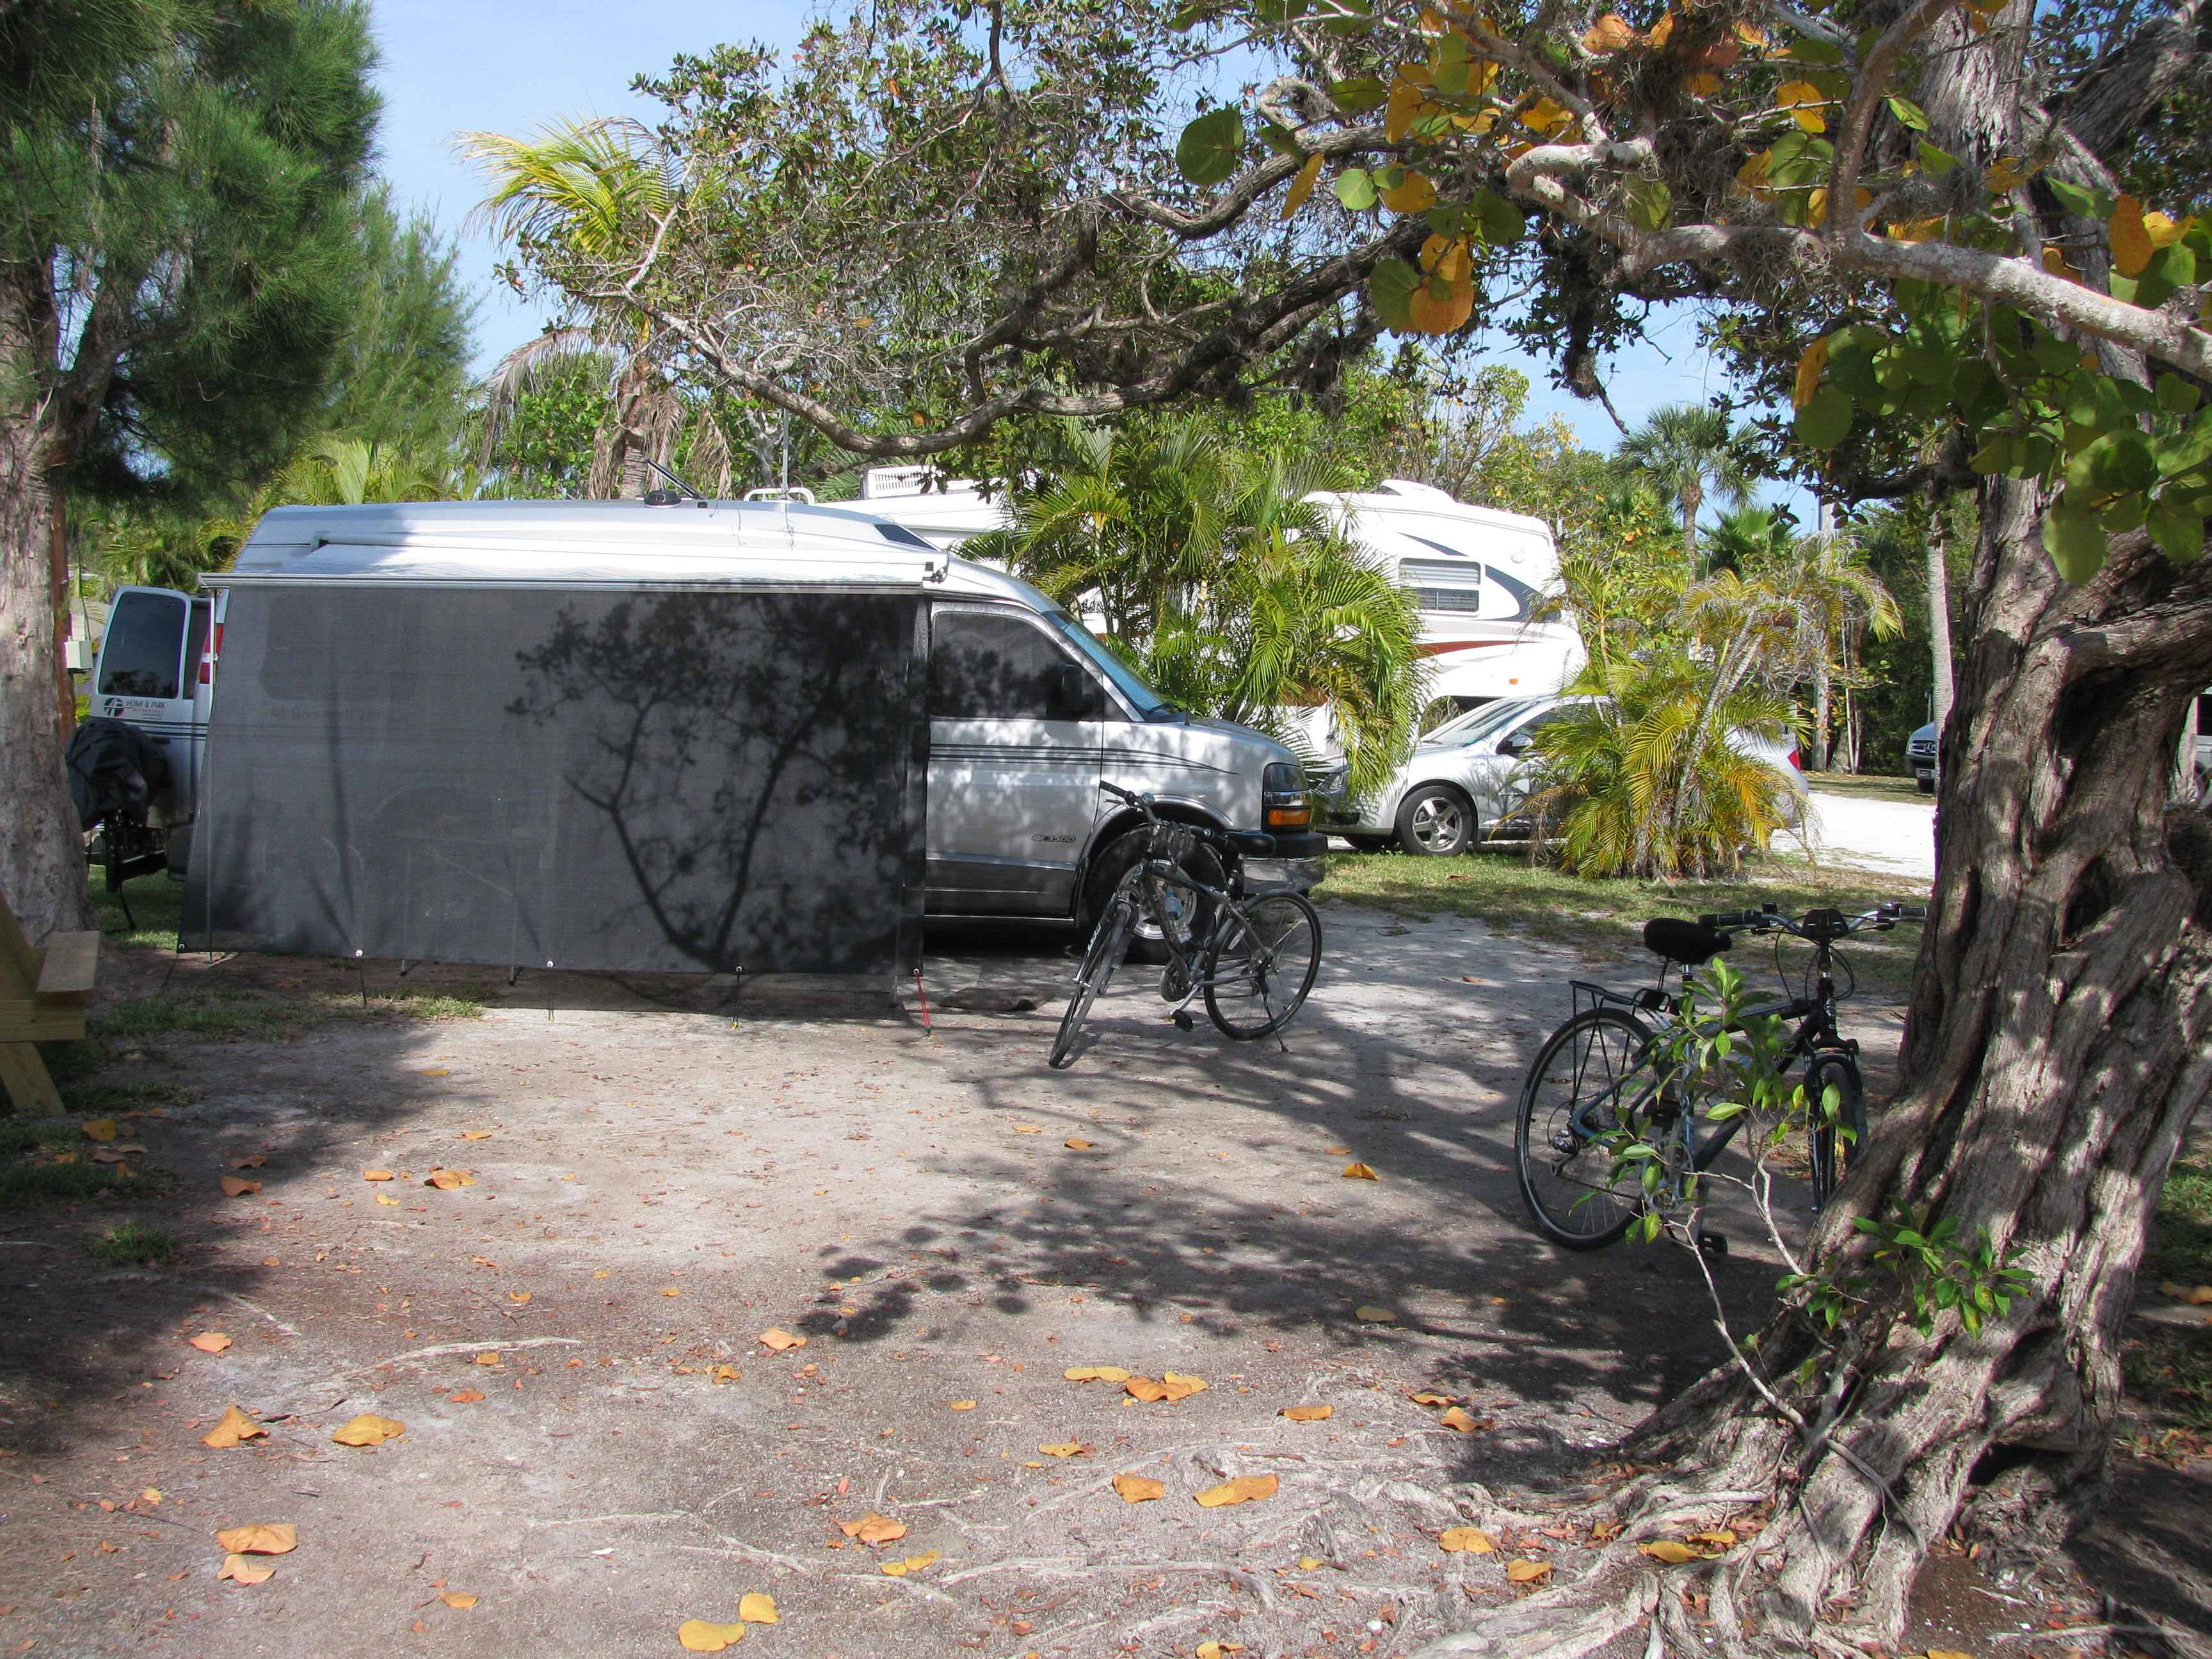
We had trouble finding just the right screen and we eventually got one at RV Sunscreen in Winterhaven, FL. I haven't been able to connect with them but Amazon has a number of offerings that might work for you.
Another highly recommended screen is one made for the windshield by Eclipse Sunshades. These are corrugated fabric and rest in brackets on either side of the windshield. When you're parked you pull them together in the middle and they stick together with Velcro. They're great for privacy when camping too. https://eclipsesunshades.net/
Here's an image from their web site:
.jpg)
Raising and lowering the continental spare tire can be a real pain in the back. We usually end up accessing the "basement" fairly often so the tire can be problematic at times. To solve this problem we've installed an EZ Lift kit from George Jones. He seems to be out of business but apparently there are other, equivalent solutions. Look around and see what you can find: our lift was definitely worth it!
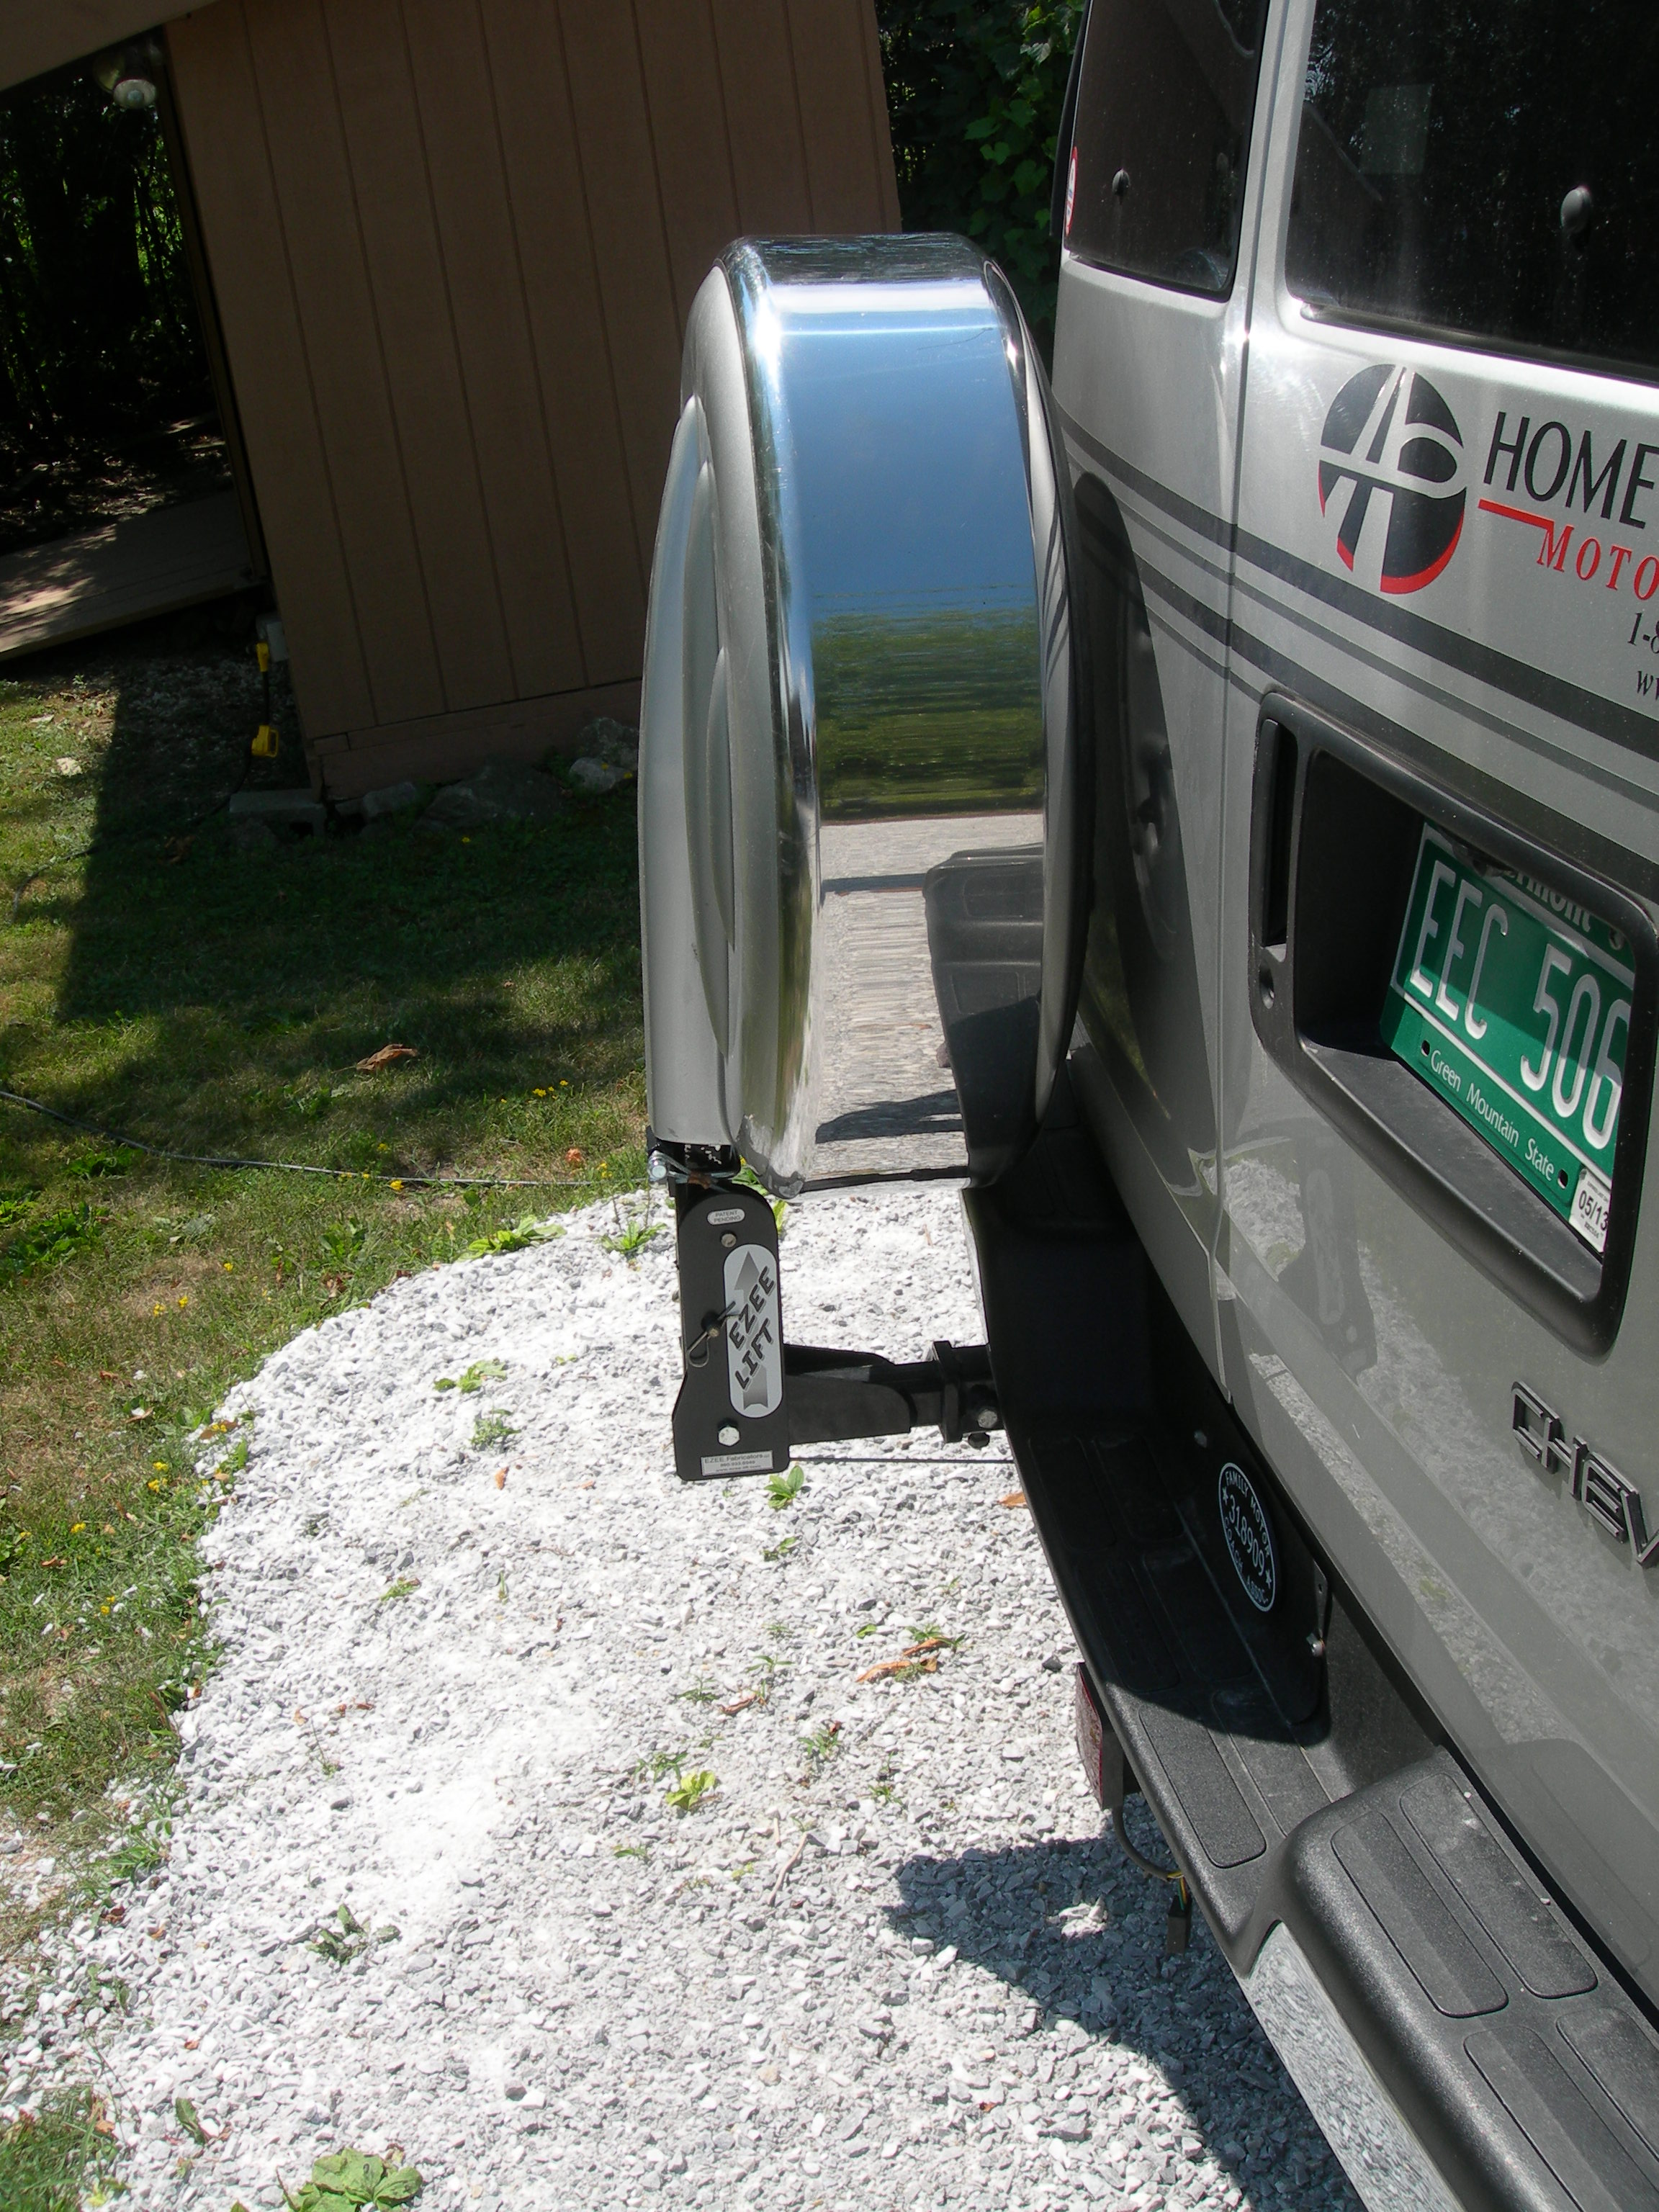

Installation wasn't hard but you do need a set of wrenches and sockets. The cabling and spring system work very well to keep the weight in balance when you're raising or lowering the tire. One warning: be VERY careful when you remove the spare. The rack can spring forward with the weight of the spare removed. Fortunately there's a special safety bracket supplied with the kit. Make sure you know about it and use it if necessary!
The Dometic refrigerator works pretty well under most conditions but it has a lot of trouble keeping things cold in very hot weather. To solve this problem we got a Snyder Kit from Stu Snyder and have been very pleased with the efficiency improvement. Unfortunately Stu seems to be out of business. The kit originally sold for around $70 and I'm including the information below just for reference in case you find something similar, want to build your own, or want to do maintenance on an existing Snyder kit.
It's actually rather simple in concept. The kit has a plastic funnel and a fan that channels air over the fins of the refrigerator. Remember that any refrigerator is a heat pump and the heat has to go somewhere. The Snyder Kit helps improve the transfer of heat from the refrigerator coils to the atmosphere.
Installation isn't too difficult although it takes some work in close quarters. We have a 210 and we were able to do the installation through the two removable panels on the outside of the Roadtrek. Some Roadtreks may require the removal of the refrigerator to get at the cooling fins.
The first thing to do is install the thermostat and the electrical connections for the fan. On our unit we were able to pick up 12 volts at the base of the refrigerator compartment. Follow his directions for locating the thermostat.
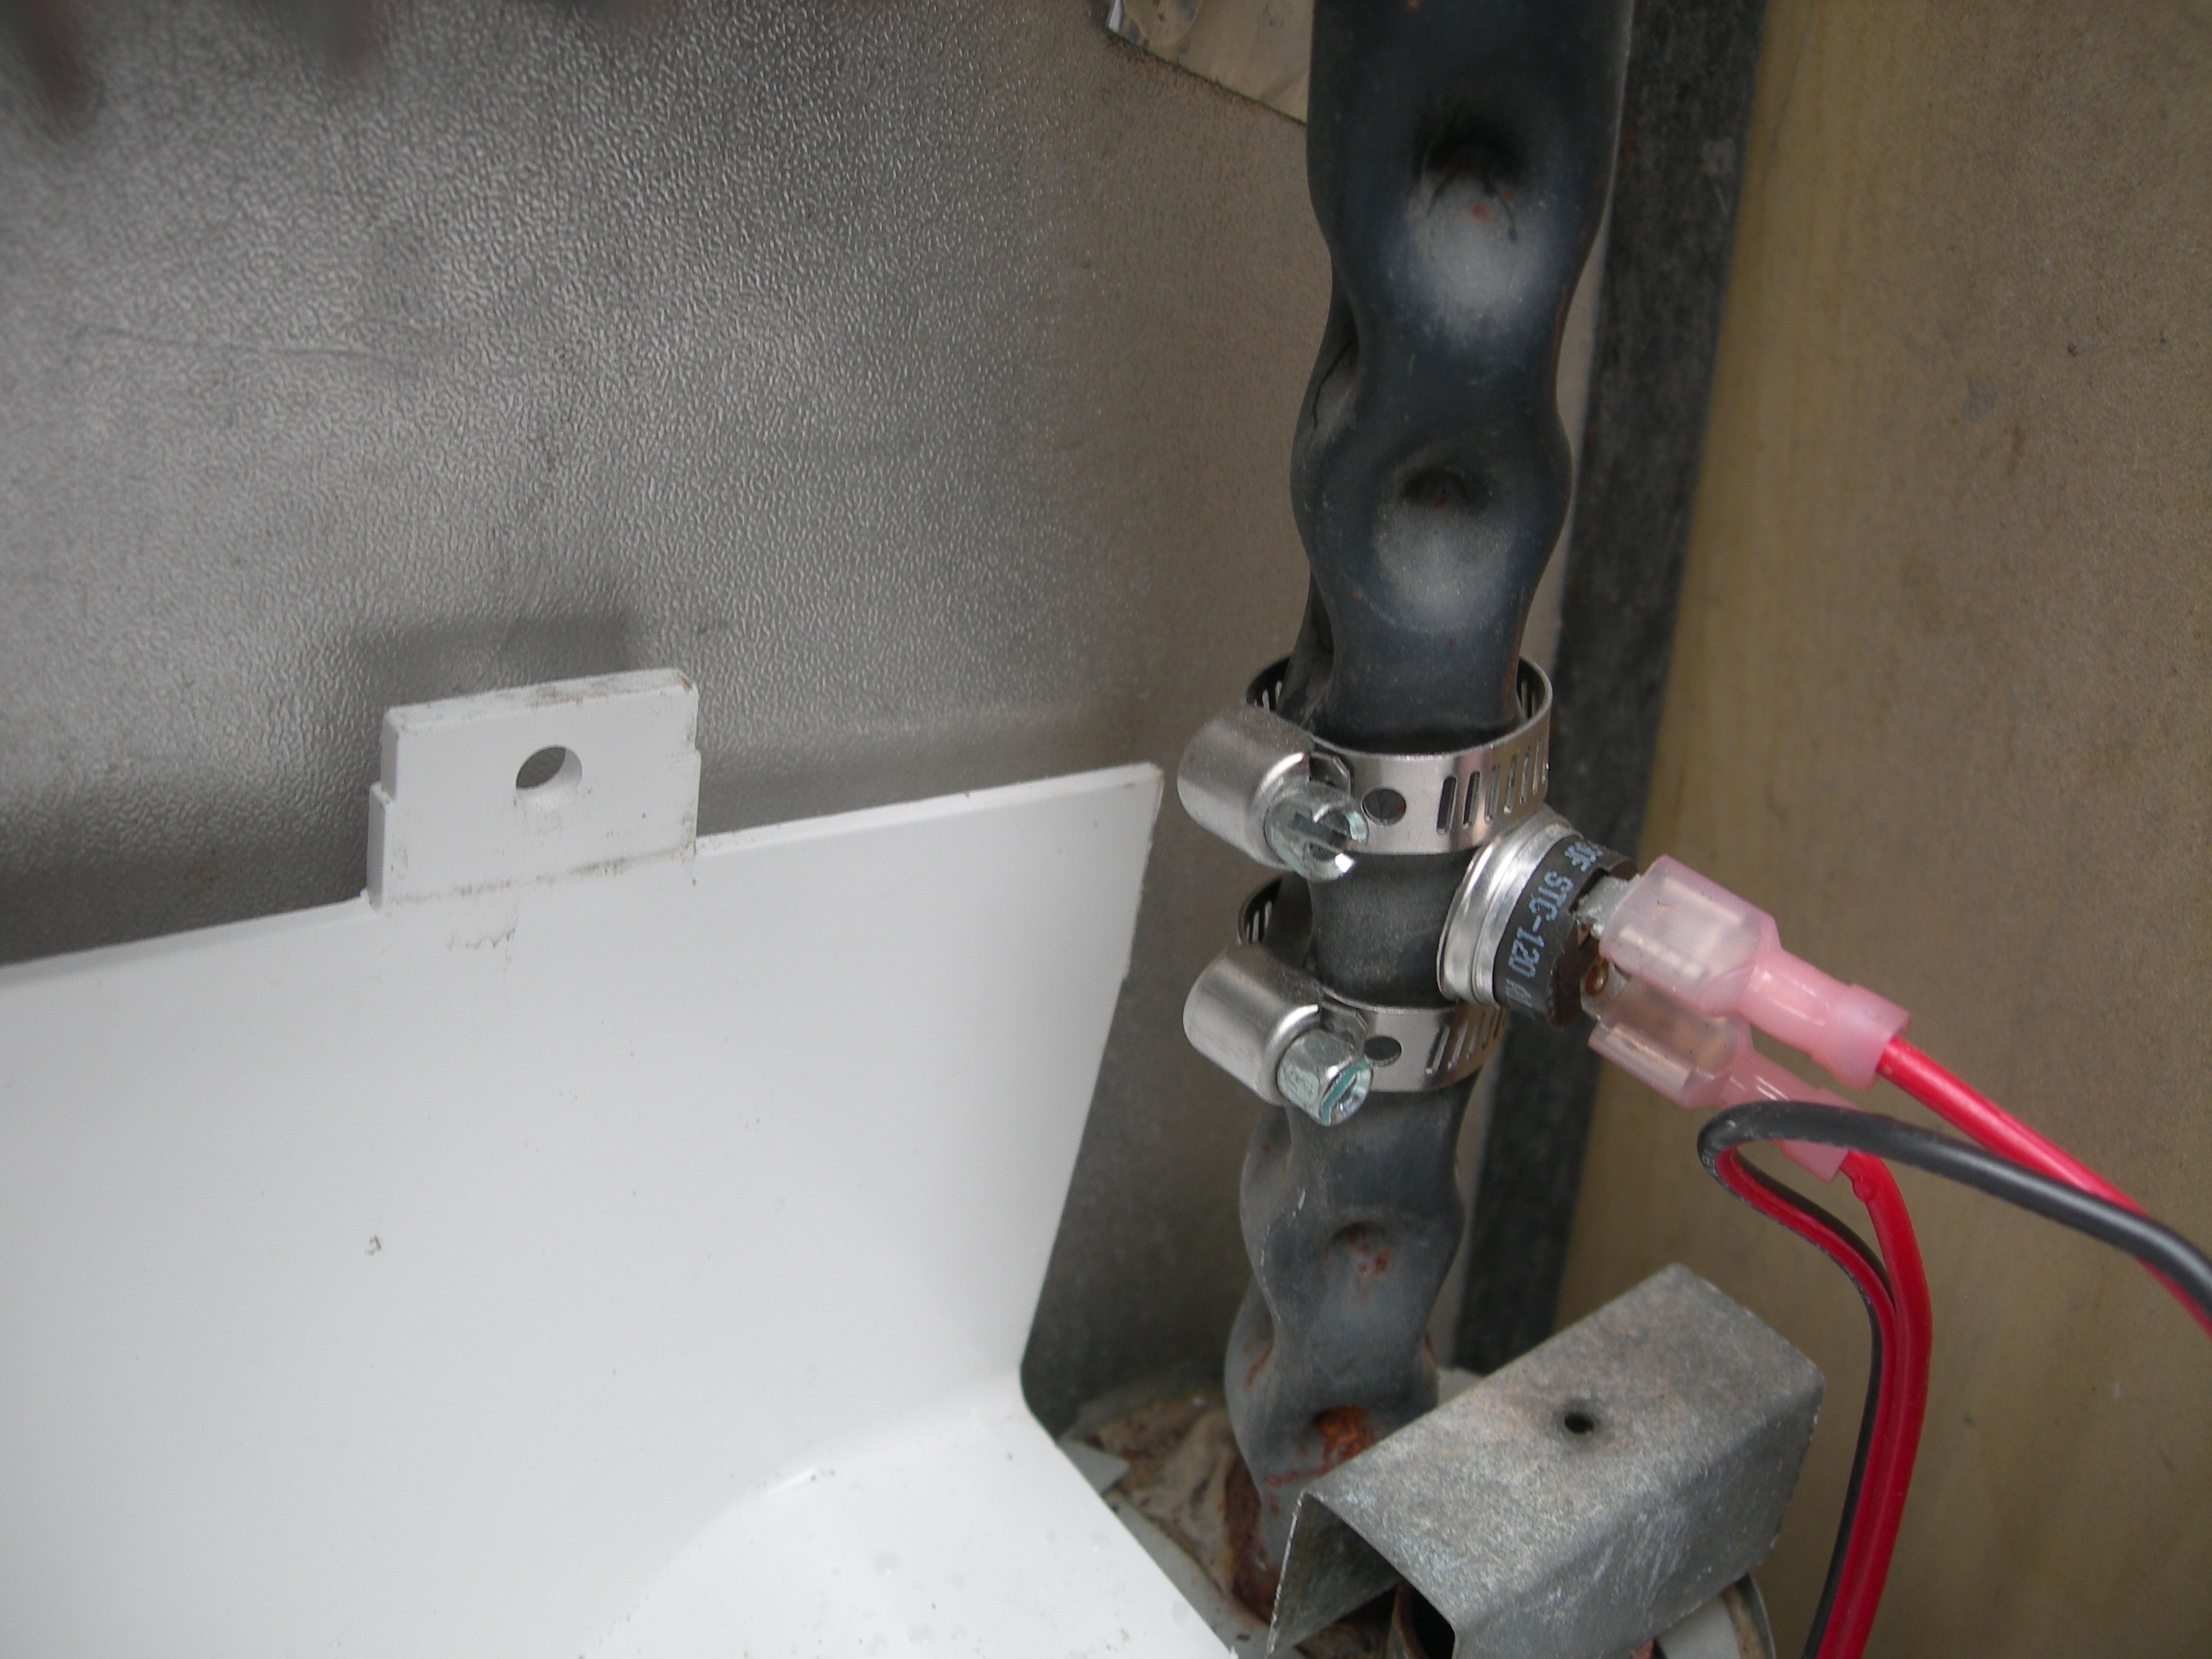
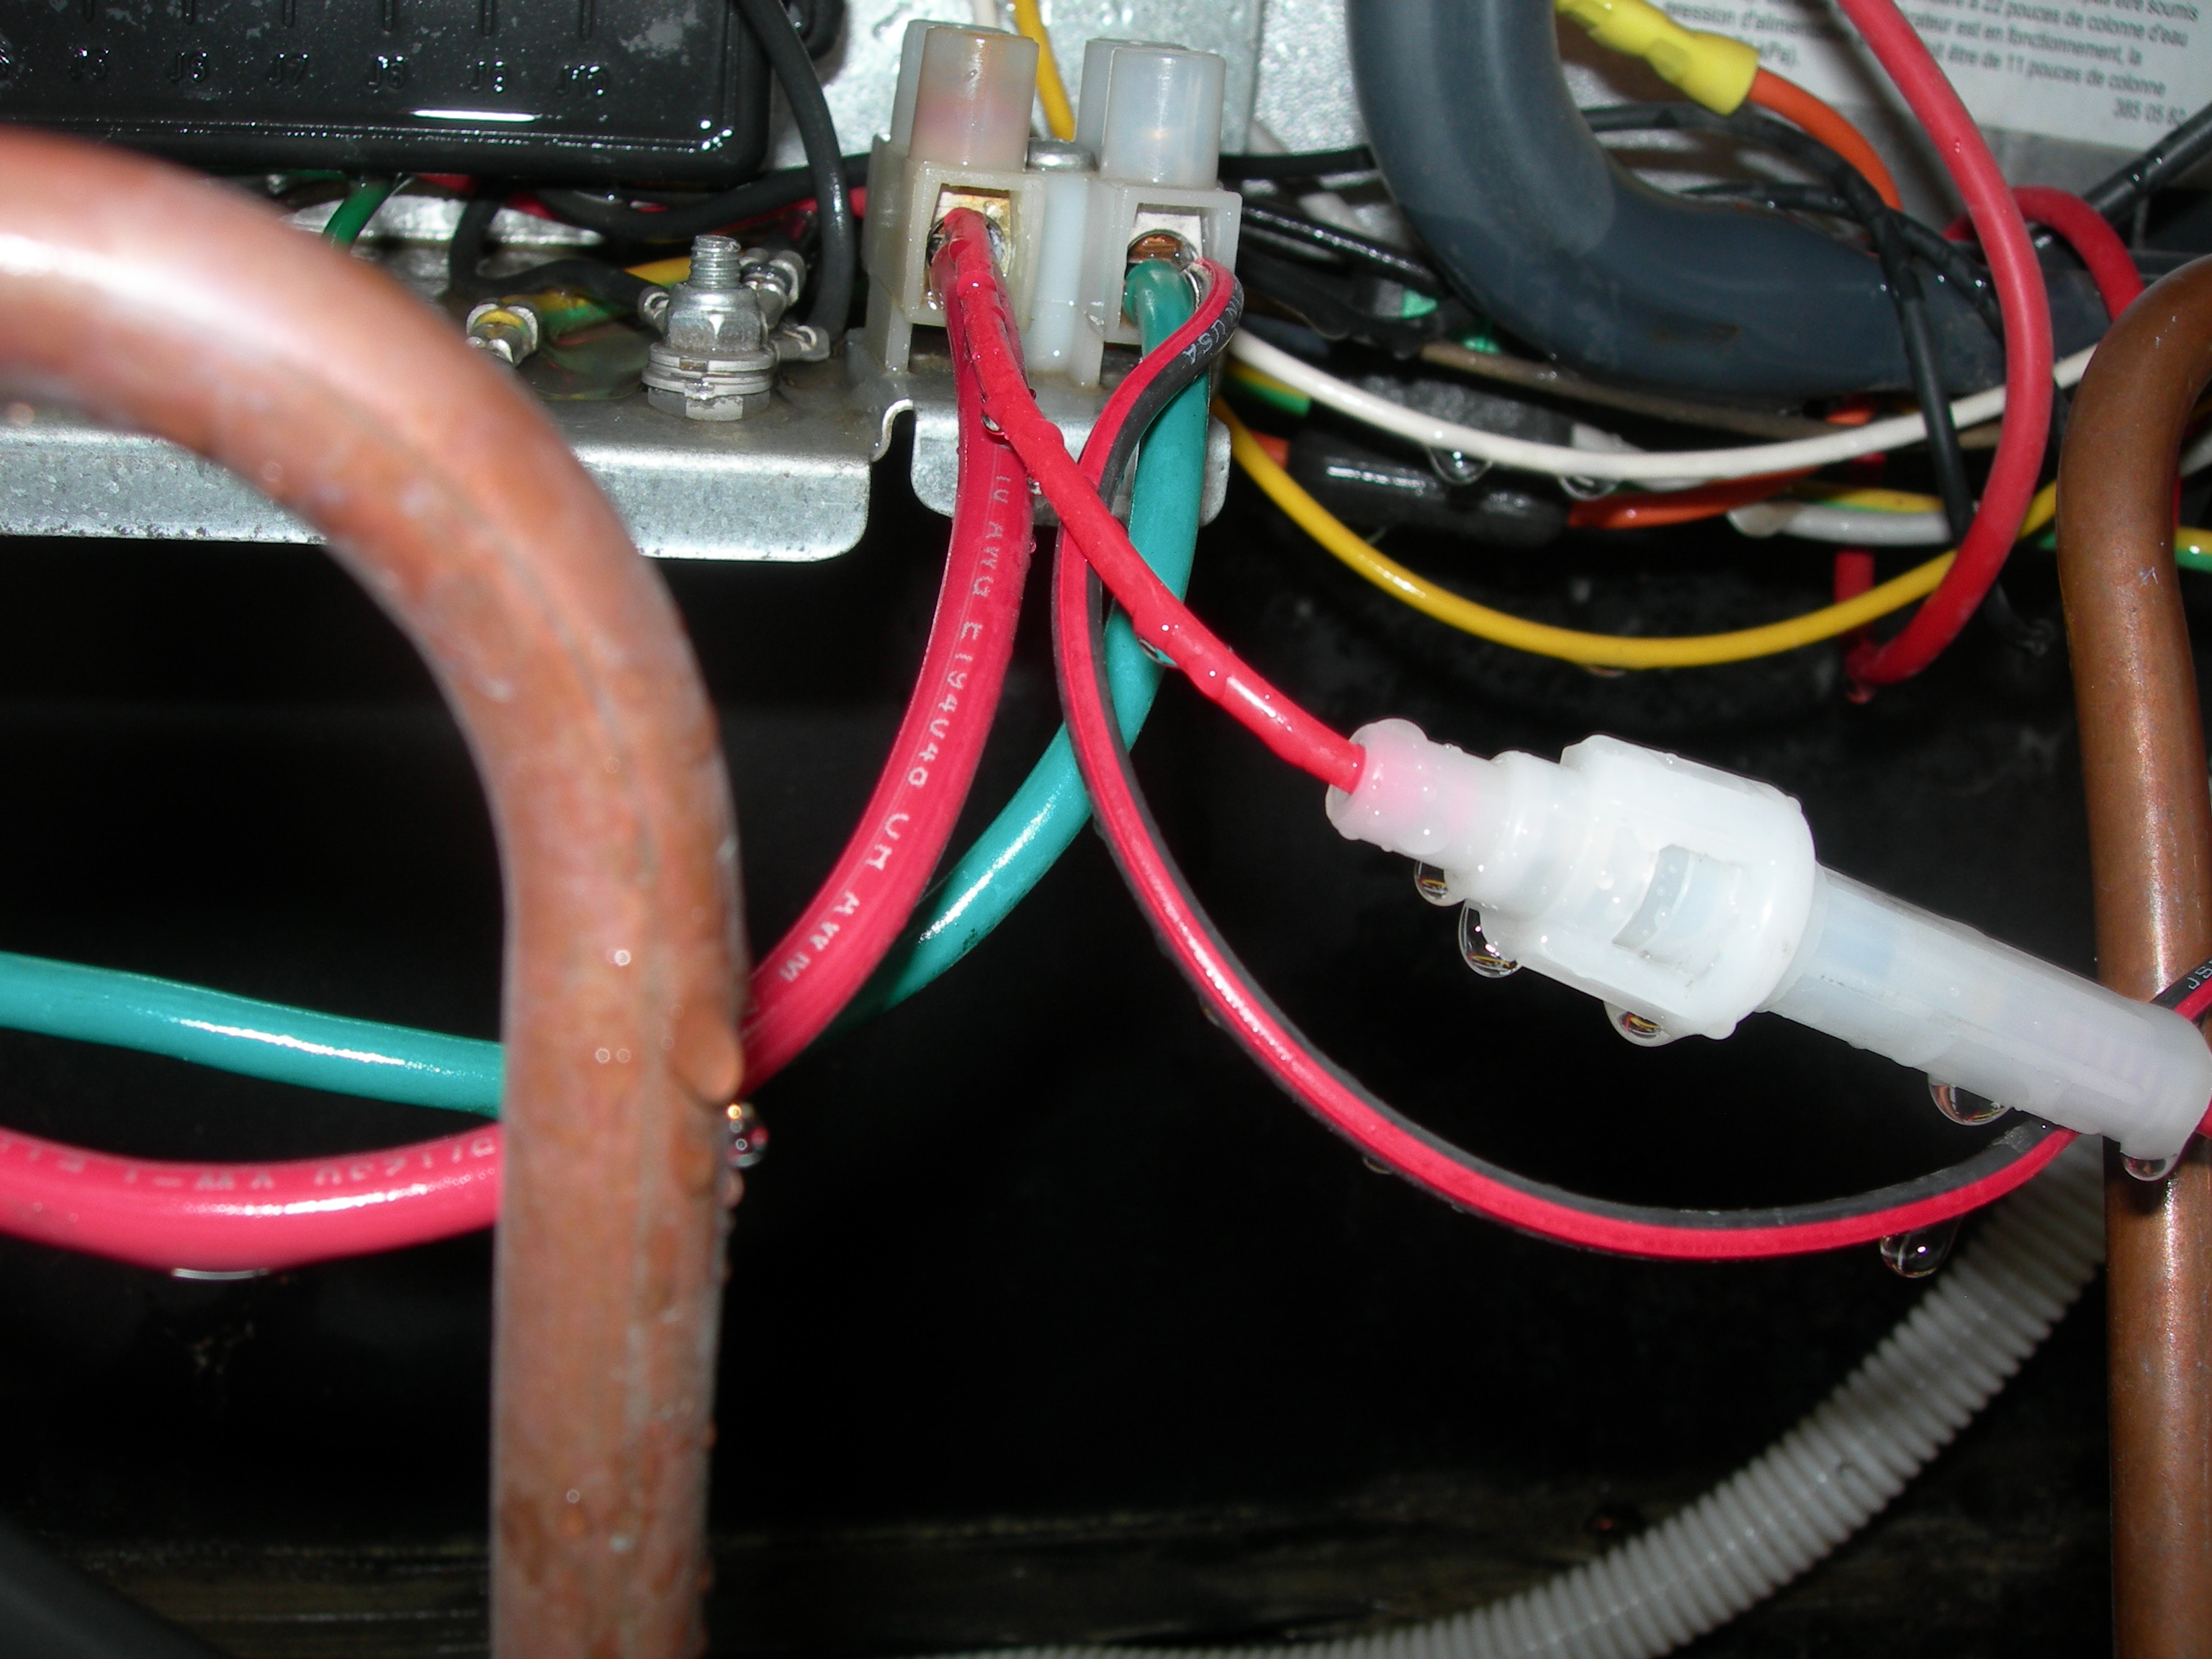
Inserting the funnel requires two hands and a little bit of fiddling. First, loosen the screws on the left and right of the cooling fin assembly.
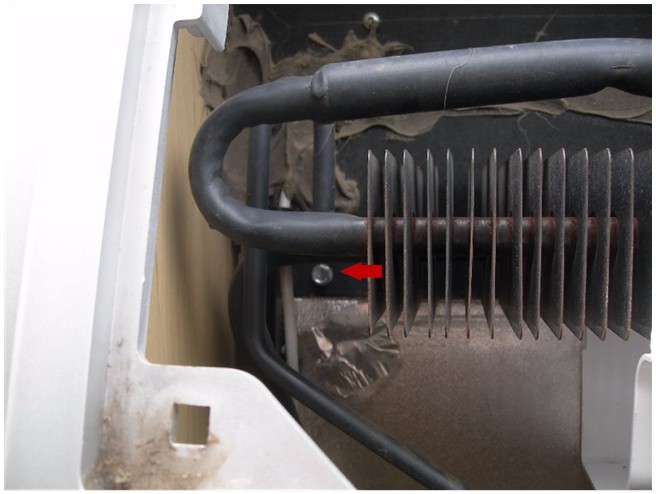
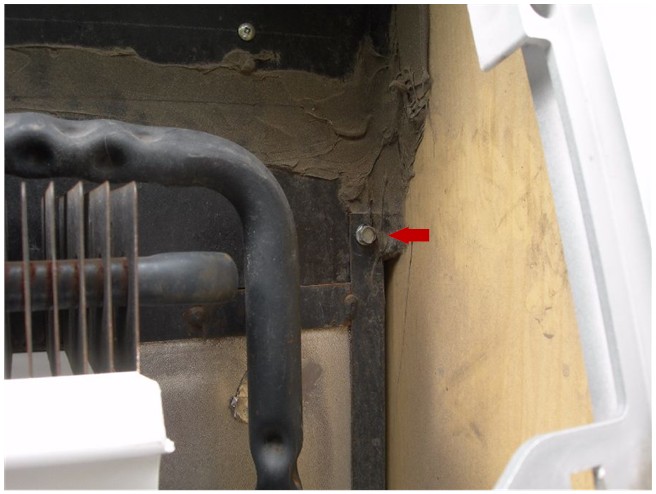
Insert the funnel through the outside bottom opening and gently work it up so that it's positioned just below the coils. Next gently pull the coils toward you and slide the funnel lip back of the metal bracket. Tighten the left and right screws. The pressure of the metal bracket is sufficient to hold the funnel in place. No adhesive is required. Finally attach the electrical connections to the fan and you're ready to go.
About the only complaint that we have is that the fan became intermittent after 14 months. One replacement fan that we tried was too noisy: you could hear it all night long when dry camping. The solution is to replace the fan with the quietest model you can find. Amazon has a wide variety of fans, designed for PC cooling. Choose one with fluid bearings, ball bearings or magnetic bearings. Don't skimp on cost here. Replacement of the fan isn't so easy that you want to do it very frequently.
Ever wonder how well your engine is really doing? The factory supplied gauges are OK but for very little more you can get detailed information on things like your engine coolant temperature (important when climbing mountain roads), battery voltage, miles per gallon, etc. Here's the device:
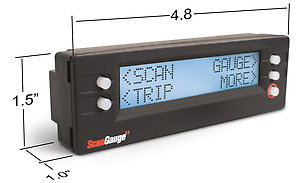
It's easy to install and just plugs in under the dash. Amazon is listing these at about $159 but I think we got ours at a much lower price from a local auto parts store. Oh, one other feature: If you get an engine check light warning you can get the code through the Scangauge. You can then look up the code on the Internet and figure out what's the problem.
These things are really useful when you're driving up mountains. In those cases we watch the temperature very closely and when the engine starts getting too hot we take action. The windows are opened and we turn on the heater. This helps remove some heat from the engine although you might get a little warm.
The original macerator dump
hose was a piece of junk. We found a much improved dump hose at : http://www.cleandump.com/
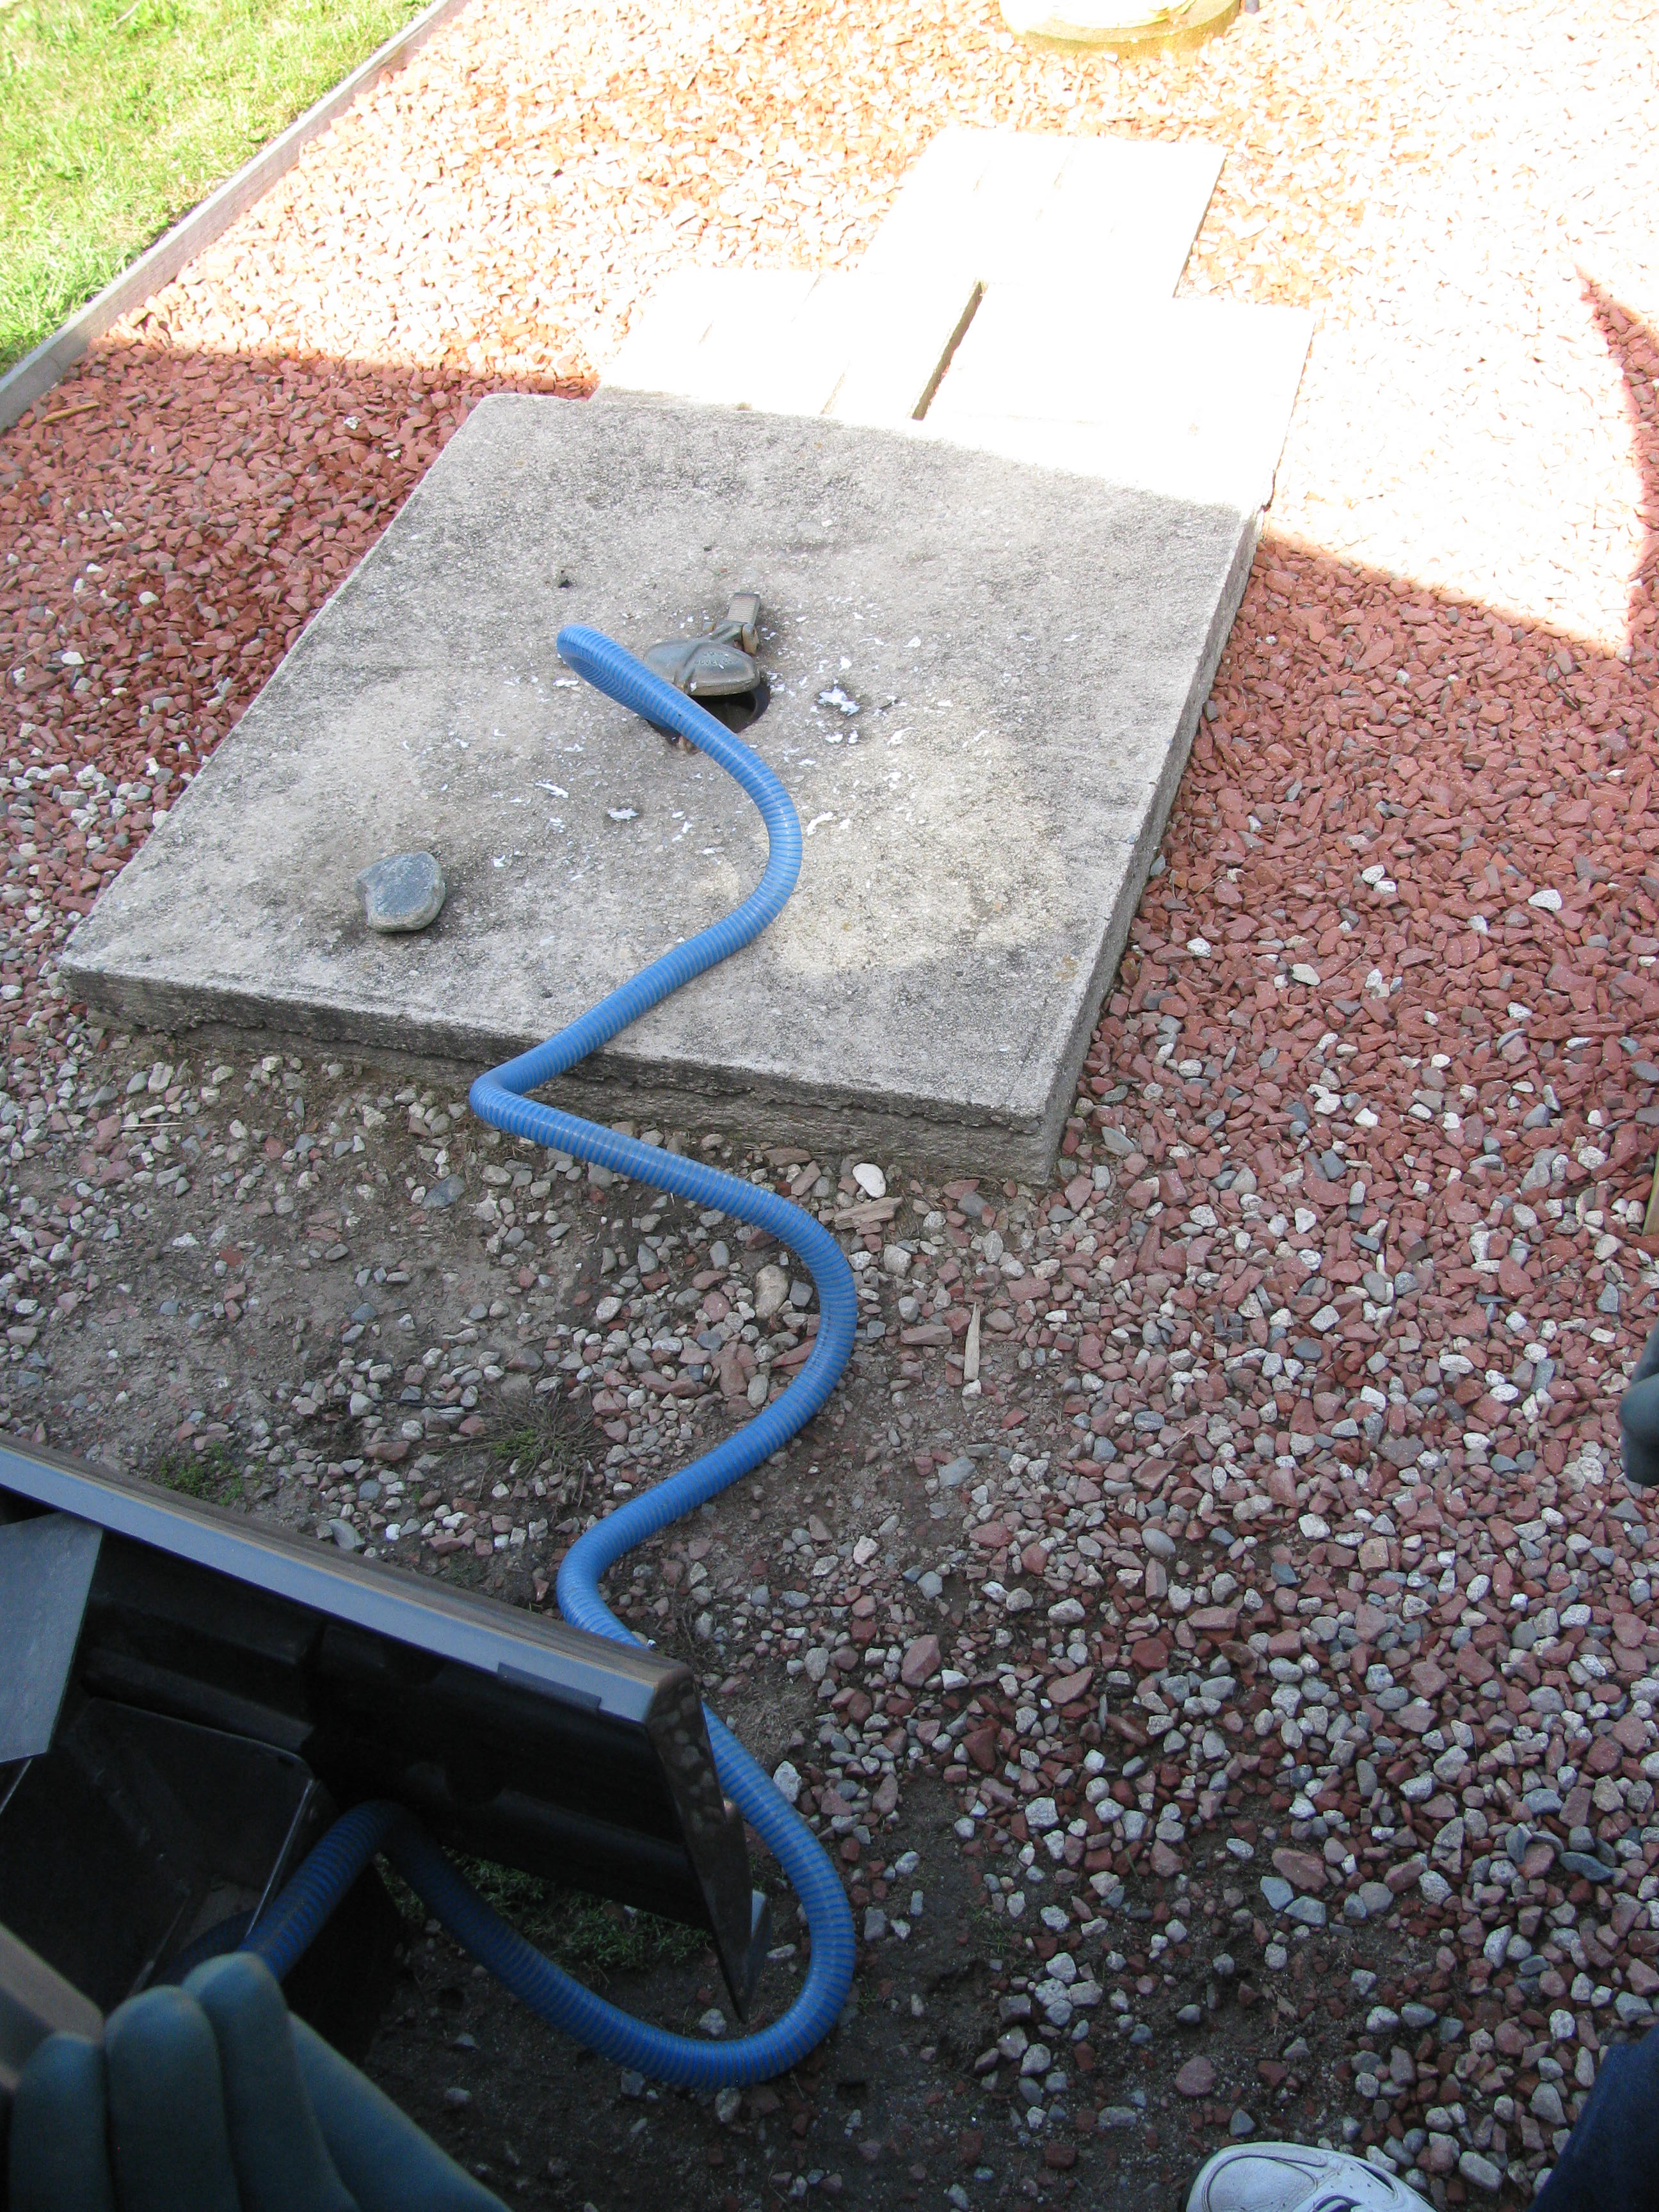
It's tough and remains flexible in cold temperatures. It also fits into the hose box on the 210 much easier than the original hose.
Just tell them what kind of Roadtrek you have and they'll send you the right thing. Ten feet should be adequate. Expect to pay about $50 plus shipping. We had ours installed by our local RV dealer.
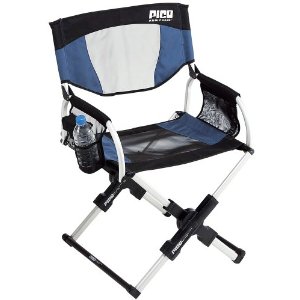
We've tried several different kinds of camp chairs and have ended up with the Pico arm chair from CGI Industries. These are fairly expensive chairs but they're comfortable, they're sturdy, and they collapse to a very small package that fits into the Roadtrek basement. You can find them on Amazon.com or else a booth at a big rally. We got ours from the FMCA booth and they gave us free coffee mugs too! Price was about $100 each but they're worth it.
This next one comes under the headings of both Modifications and Products. There never seem to be enough places in the Roadtrek to hang up towels. We tried to find towel bars that more or less matched the original Roadtrek equipment but always came up empty handed. After some searching we found this product:
We added two "U" shaped towel bars on the bathroom door and on the wardrobe door. These were really hard to find but we came very close: https://www.mockett.com/dp57.html
Here's a drawing from their web site to give you an idea of what the dimensions are.
They come in various widths.
The diameter doesn't precisely match the diameter of the stock Roadtrek
bars but they're close enough
We travel with bicycles fairly often and have gone through a couple of bike carriers before settling on the Thule Revolver. We've had ours for about 4 years and it's been trouble-free.
It fits into the trailer hitch and swivels to the side for access to the basement. Now, this is important. Very important. Most bike carriers block the rear door. Suppose you have a fire in your Roadtrek at night and you need to get out. Your emergency exit is blocked by the bike carrier. The Revolver just pivots away, leaving your exit door unobstructed. We make it a habit to pivot the carrier away each night, regardless of where we're camping. Here's a great little demo from YouTube showing all the features:
http://www.youtube.com/watch?v=r7DcNVQx19Q
Cost is about $450 so it isn't cheap but it's worth it. It's extremely well built, secure, and, like we say, safe.